|
When I first walked into this class I thought to myself, "I have no idea what I'm doing." I didn't know whether the class was going to be hard or easy; all I knew was that I wanted to learn how to use a camera properly. The first time we had to get cameras out and take pictures on our own, I thought to myself, "As long as this camera is set on auto, these will turn out somewhat decent." As you can see I had a lot to learn about photography and the fundamentals behind a good picture.
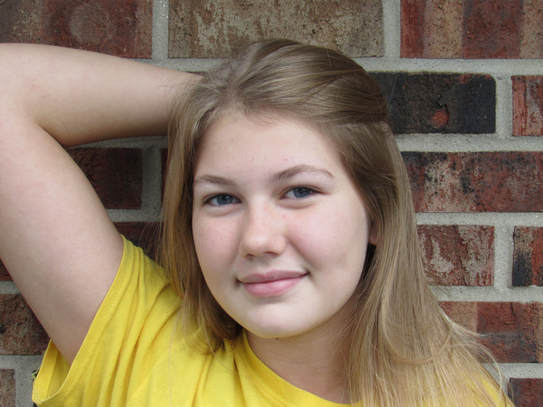
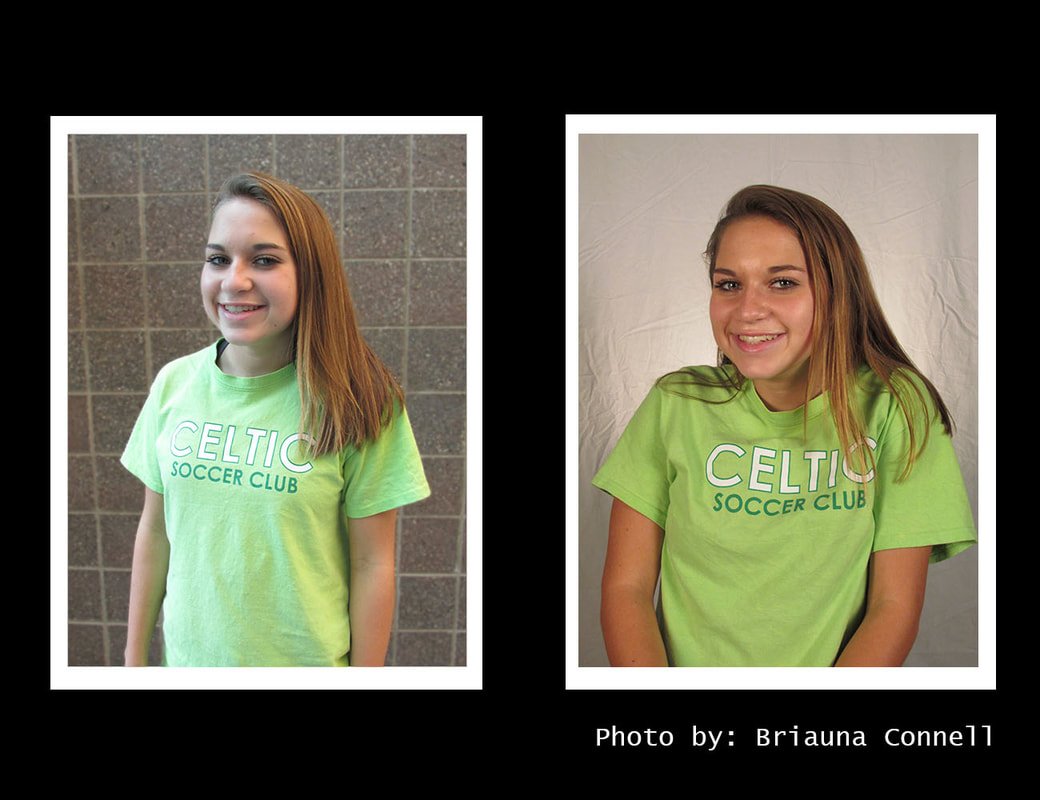
I learned how to control aperture, and shutter to create exposure. The picture on the left was to bright, and captured my shadow. The picture on the right was taken from a more creative angle, with a more appropriate exposure. As I continued through my photo assignments I learned that a simpler background was also more pleasing. (examples below)
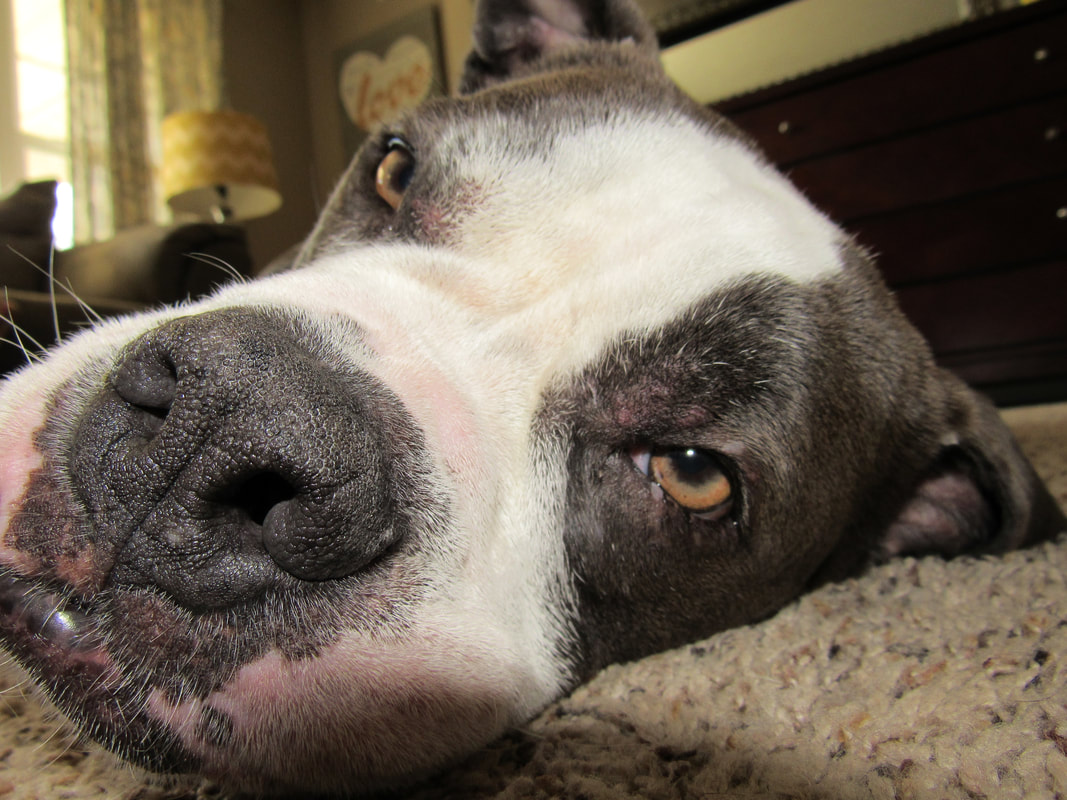
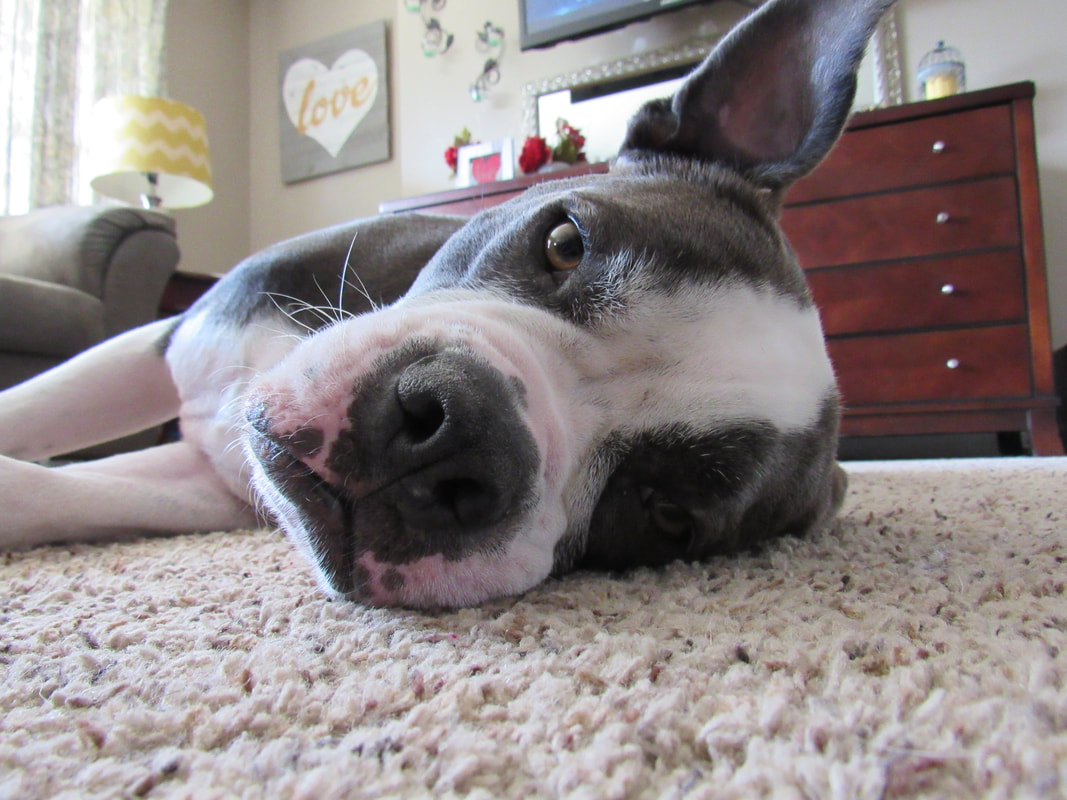
Take a look at the difference from the first two pictures compared to these two. They are much more professional looking in my opinion. I also learned how to work with light since that was the biggest struggle I faced in every assignment.
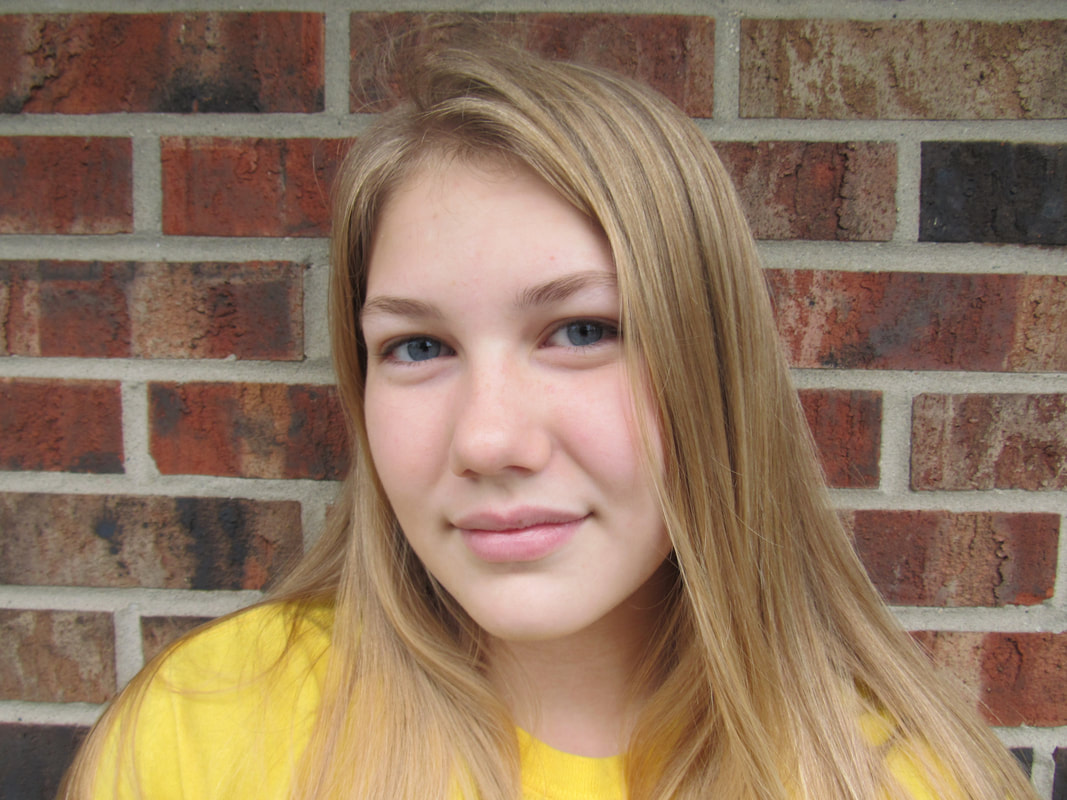
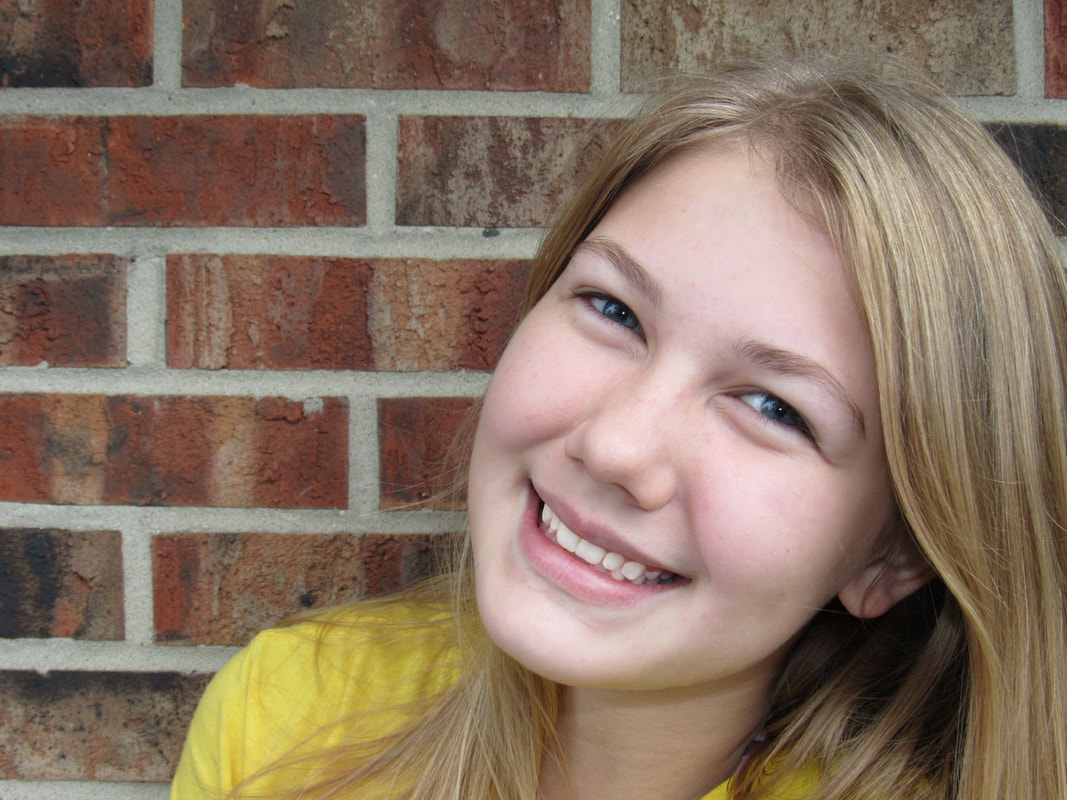
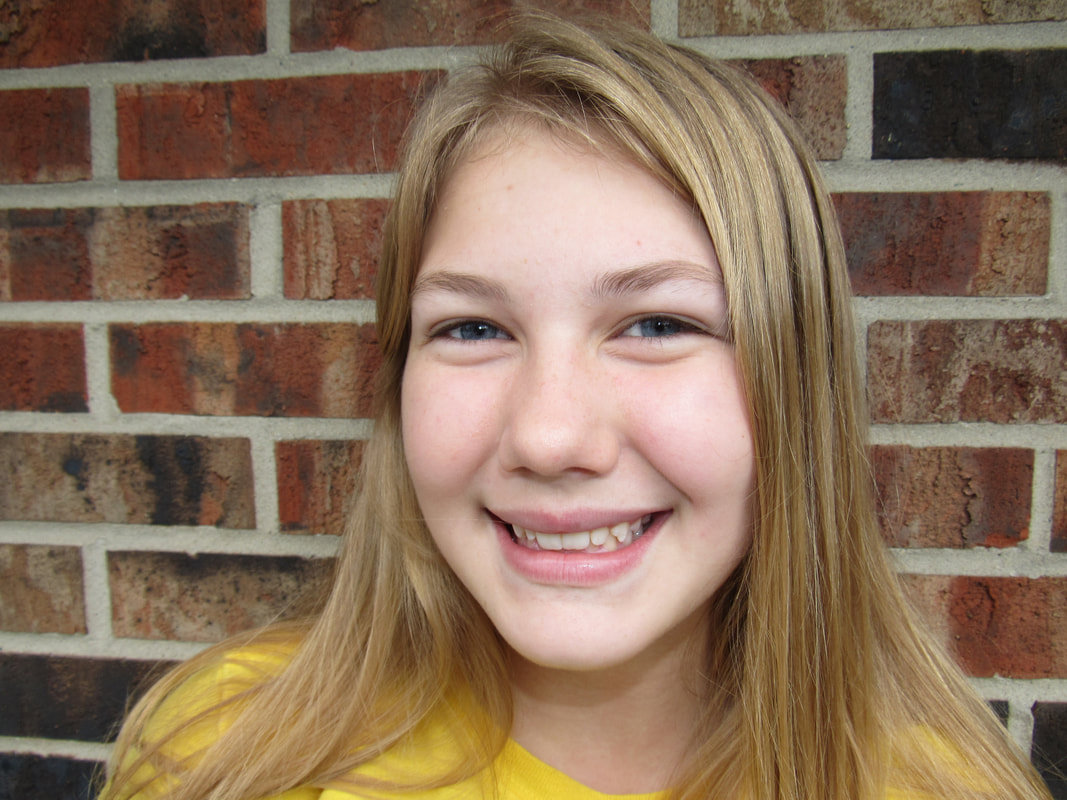
I learned some crucial tools used in the photoshop world. Tools such as crop, levels, and clone stamp. Notice in the left bottom picture her teeth are more squared away and brighter than the right photo. I enhance the photo's look through photoshop.
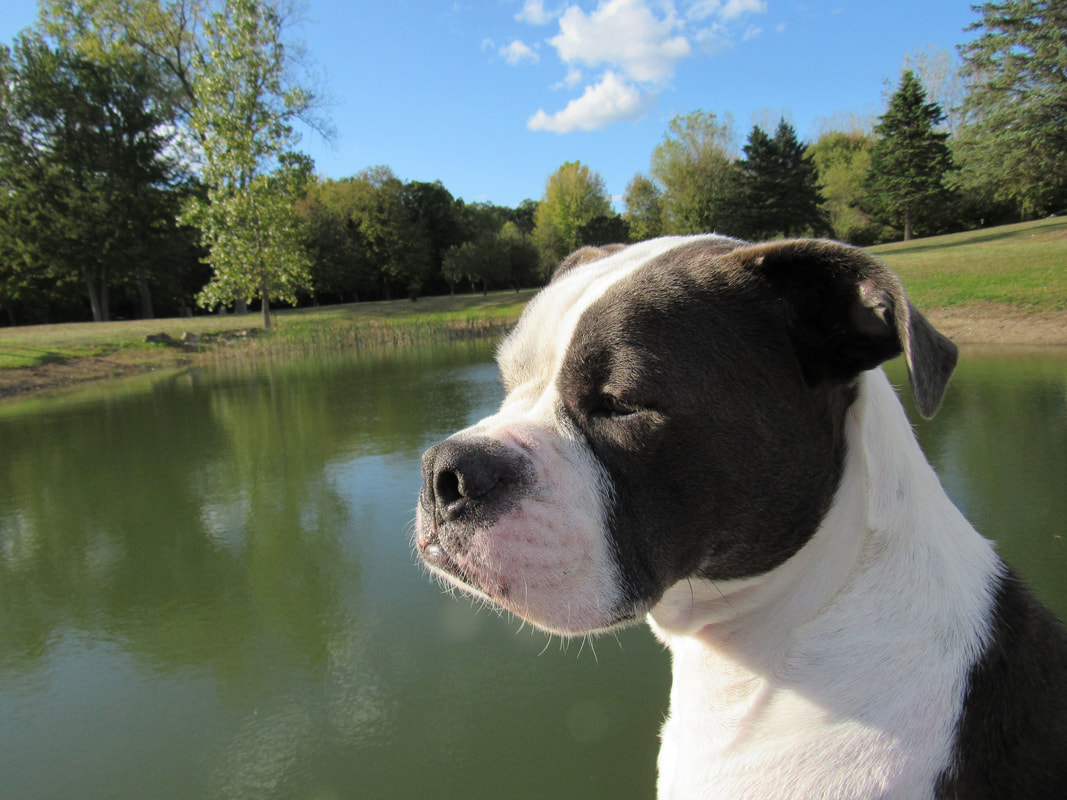
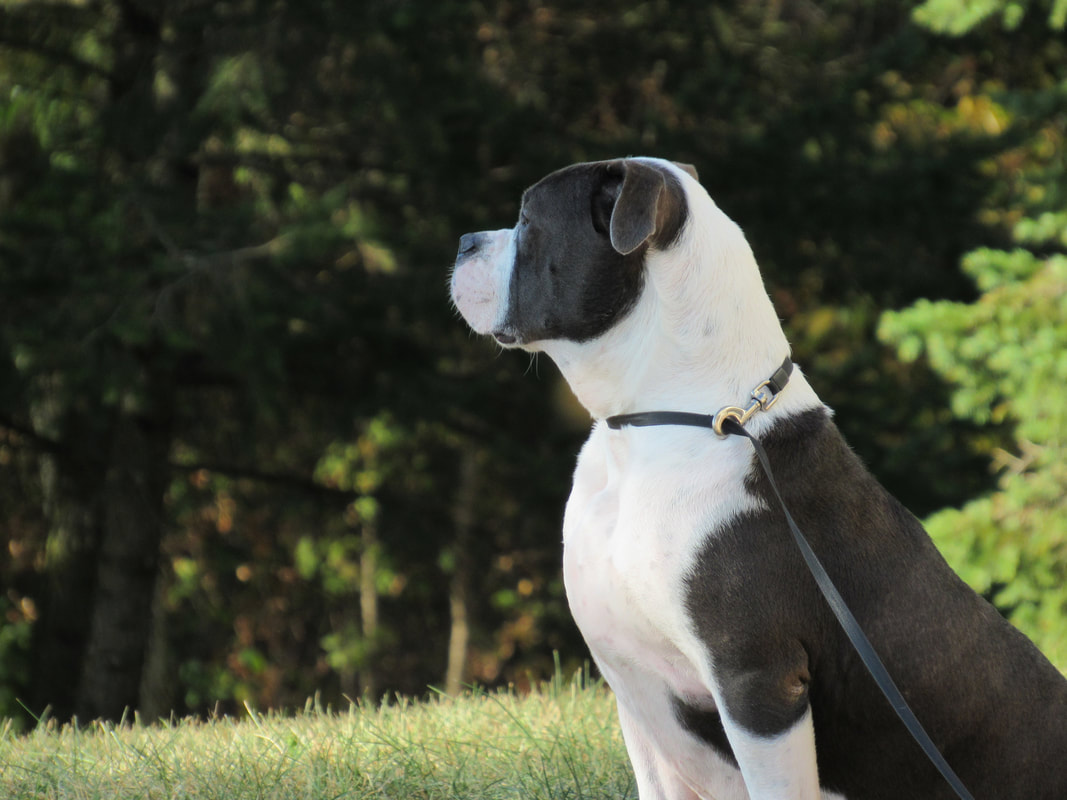
These last two photos would have to be by far my worst to one of my best.
Now I can properly use a camera knowing how to use a camera in manual mode, and the fundamentals behind photography.
0 Comments
For this assignment, we had to create visual puns that were school appropriate for the class to guess. We first we made each individual pun and then combine them all together.  I really enjoyed this assignment because it was fun. Although, it also forced us to use different tools we've learned in Photoshop to complete this task. For this assignment, we had to create a visual dictionary. To do this we were required to chose an interesting word and give pictures that represent it followed by a definition. Each slide was required to be 7x5 inches and the final project was supposed to be 14x5.  What I found interesting about this project was that you could use the eyedropper to select a color for the text. By doing this it makes it much easier to match colors and keep the overall project neat.
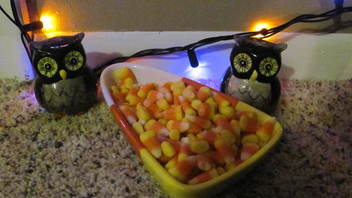
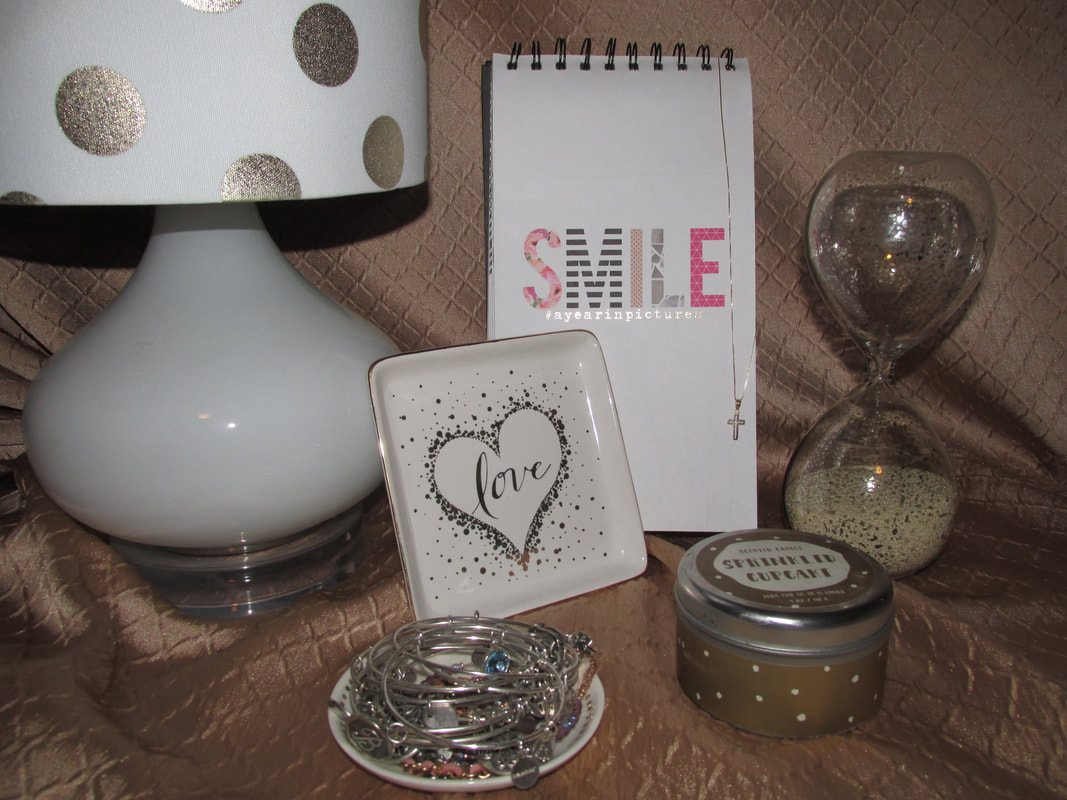
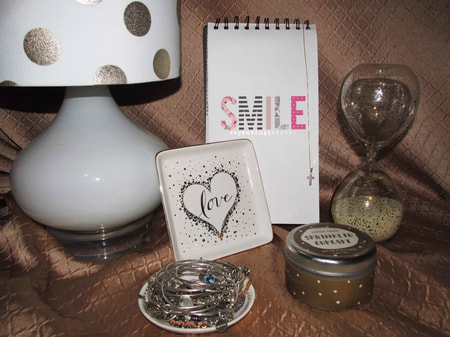
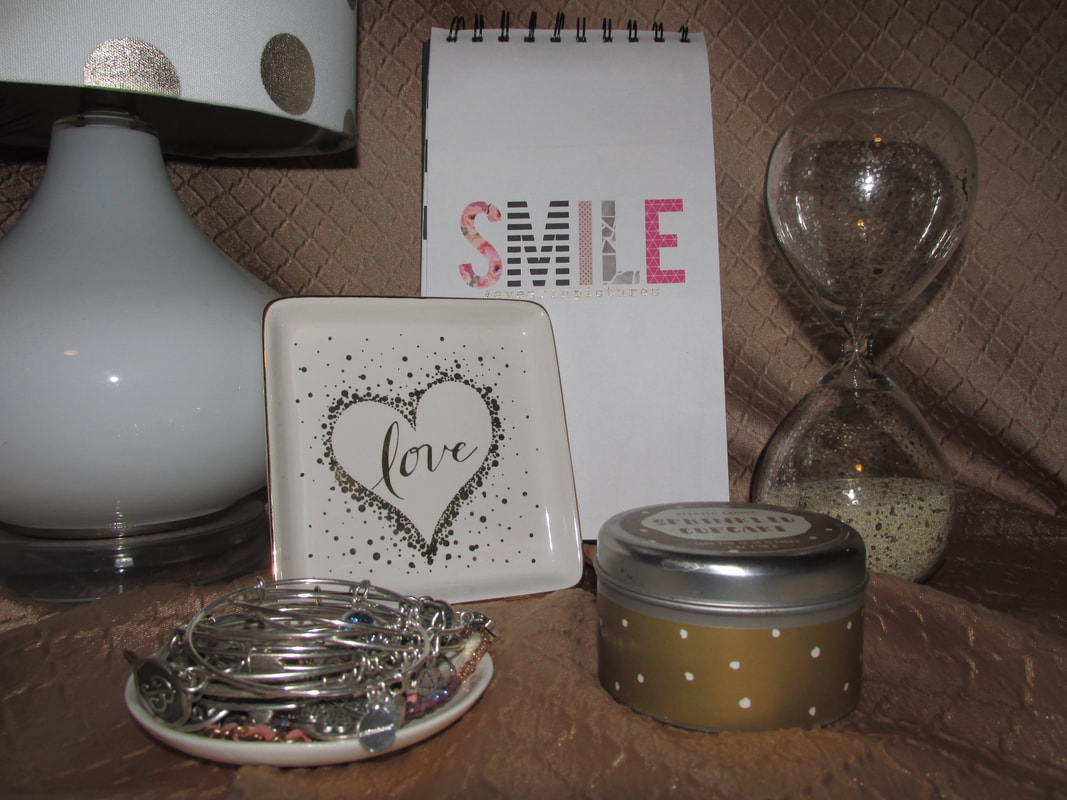
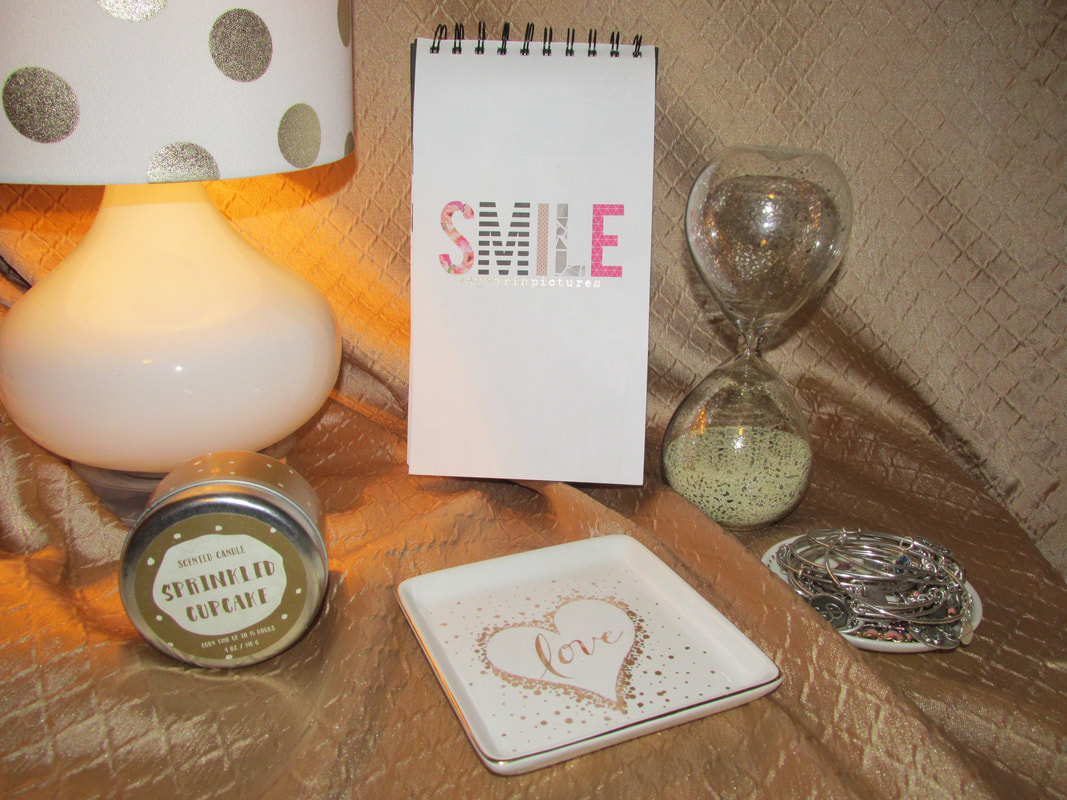
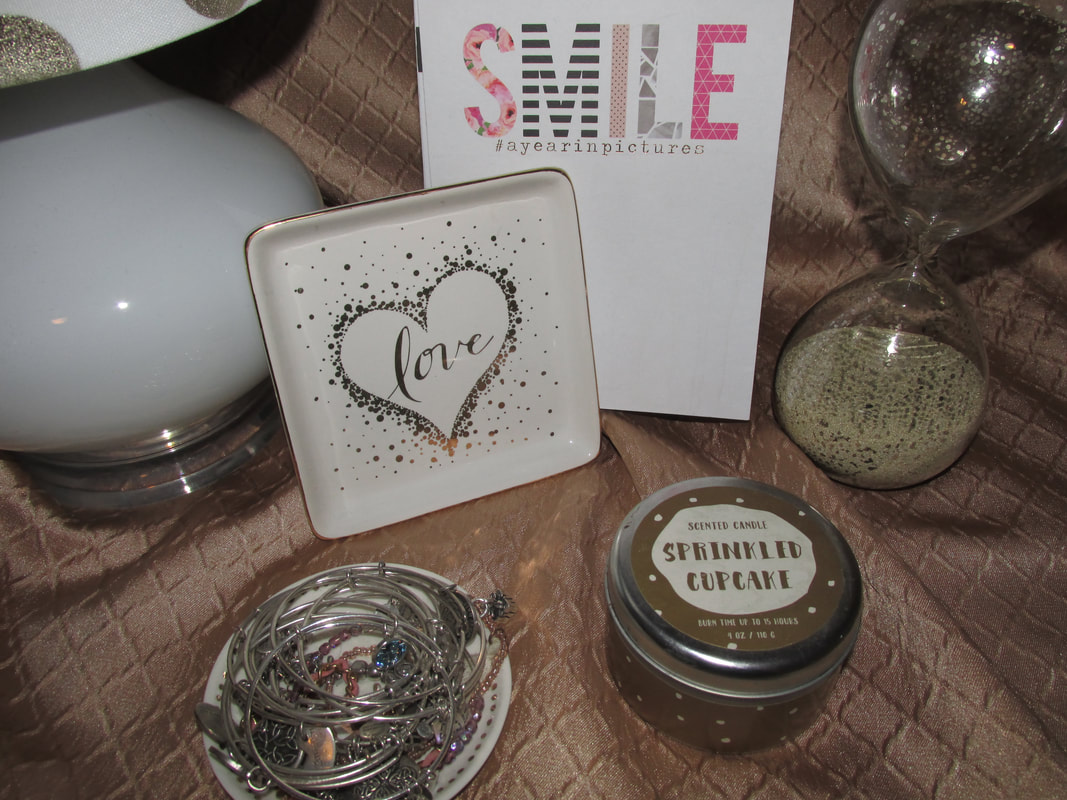
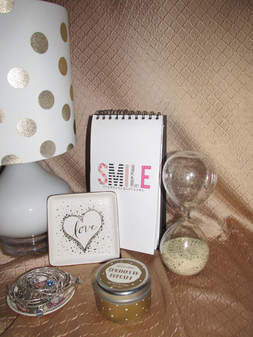
For this assignment I had to take pictures of still life. I decided to use my bedside table objects and my curtain to create a gold aesthetic.
In this assignment we had to find an open space that we could creatively combine many photos into one. For this instance, I decided to take my photos in the commons with my talent, Kailea. 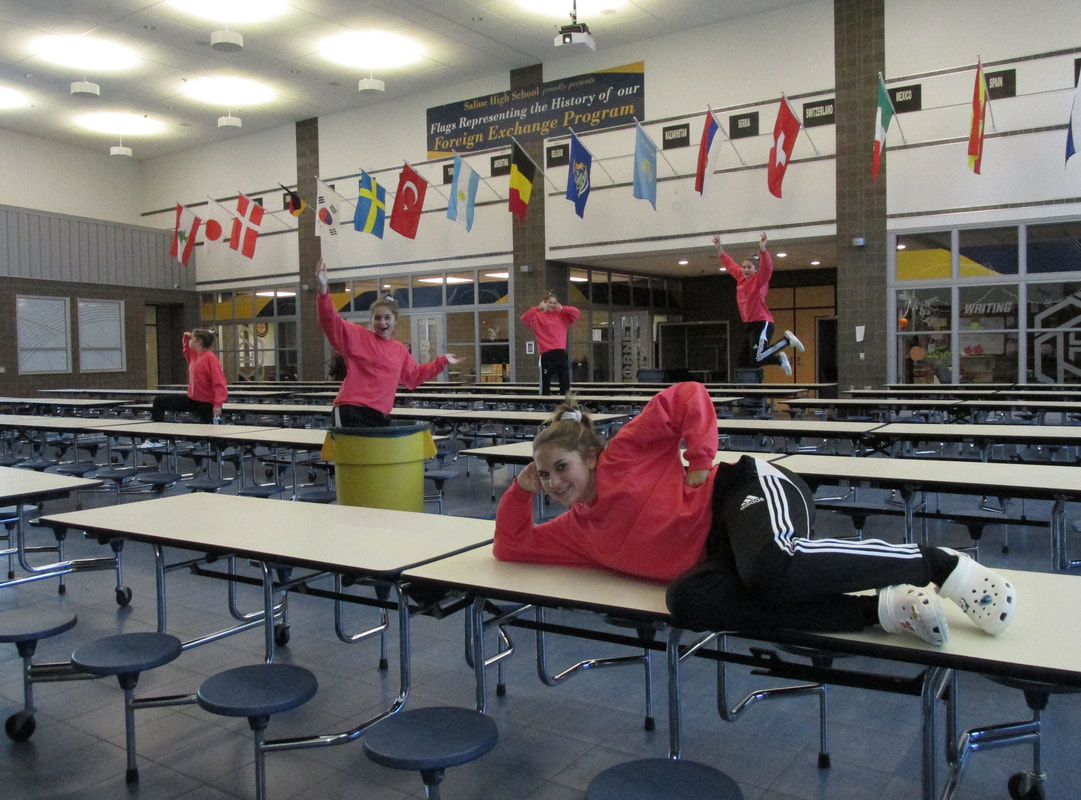  I learned how to easily select an object with the lasso tool. Additionally, I learned how to make a layer mask, and that white reveals and black conceals.
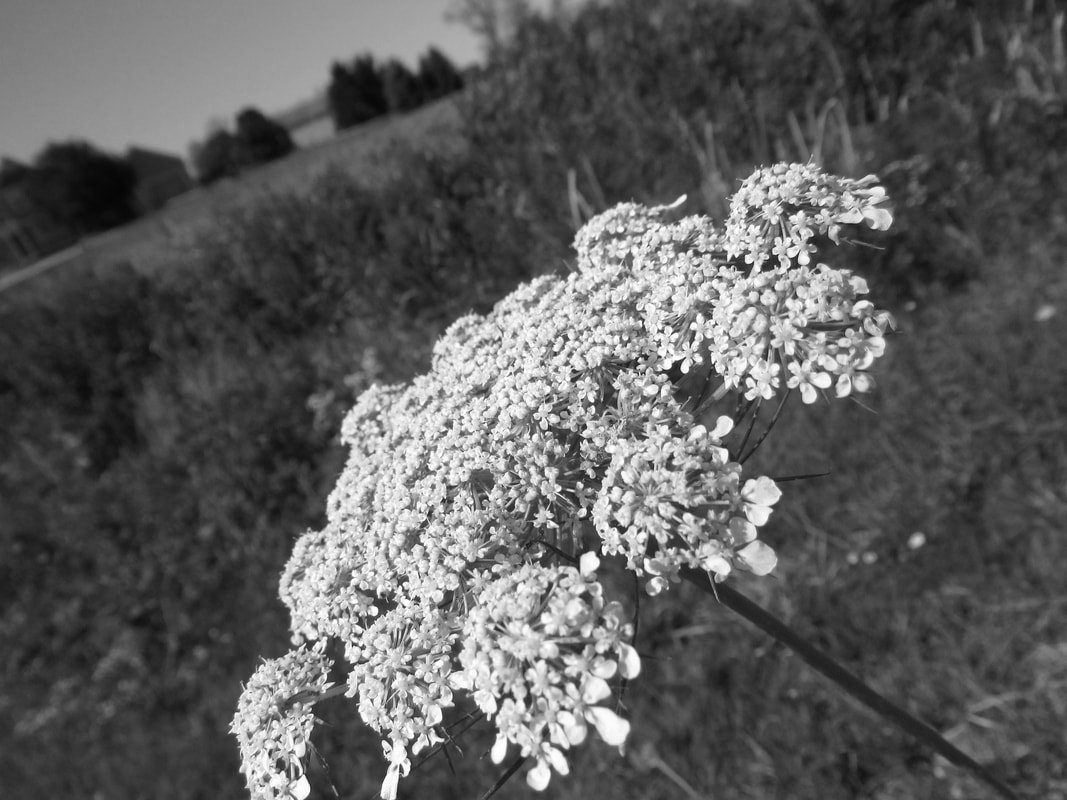
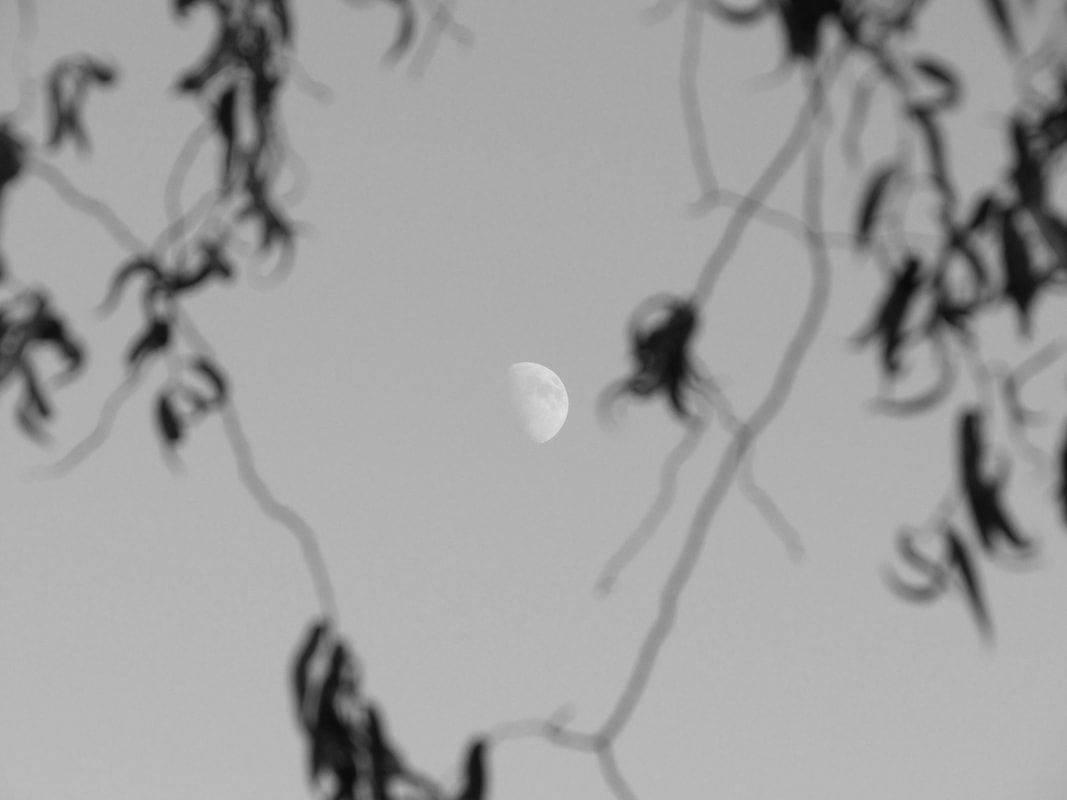
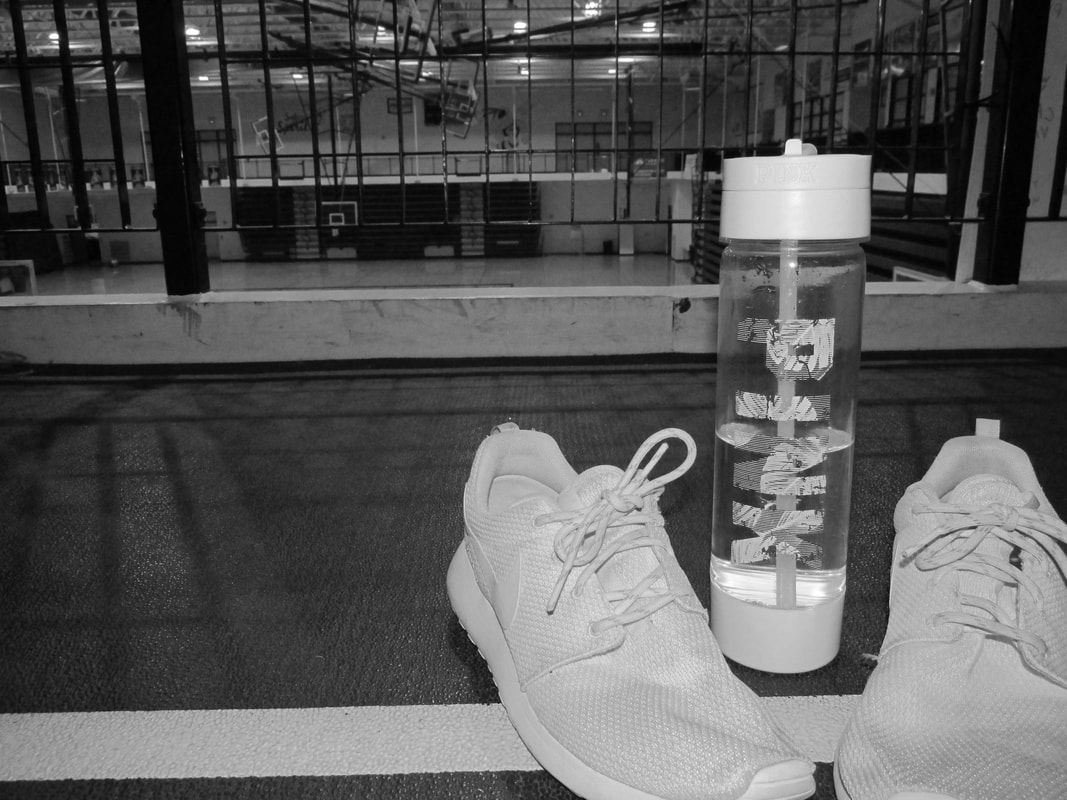
For this assignment I had to take a black and white photo. I feel that by turning the original photo black and white it has a more spooky, dark feel.
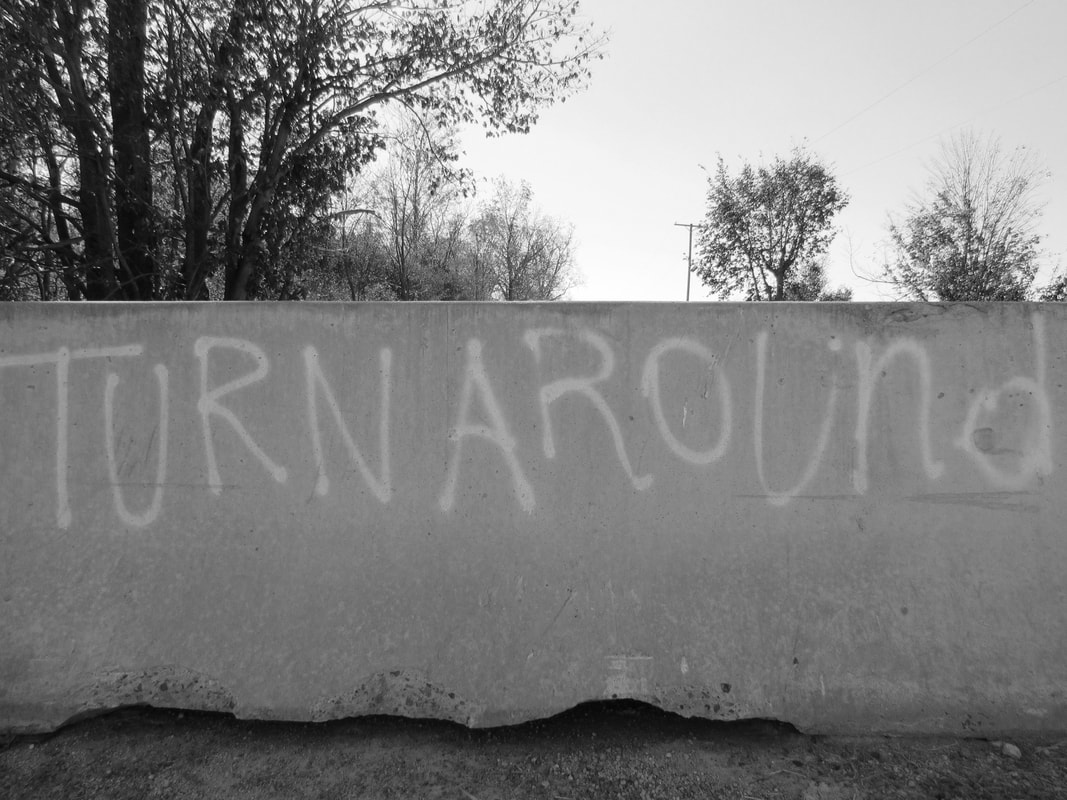
In summary, I learned how black and white photos can give off a different mood/perspective versus a colored one.
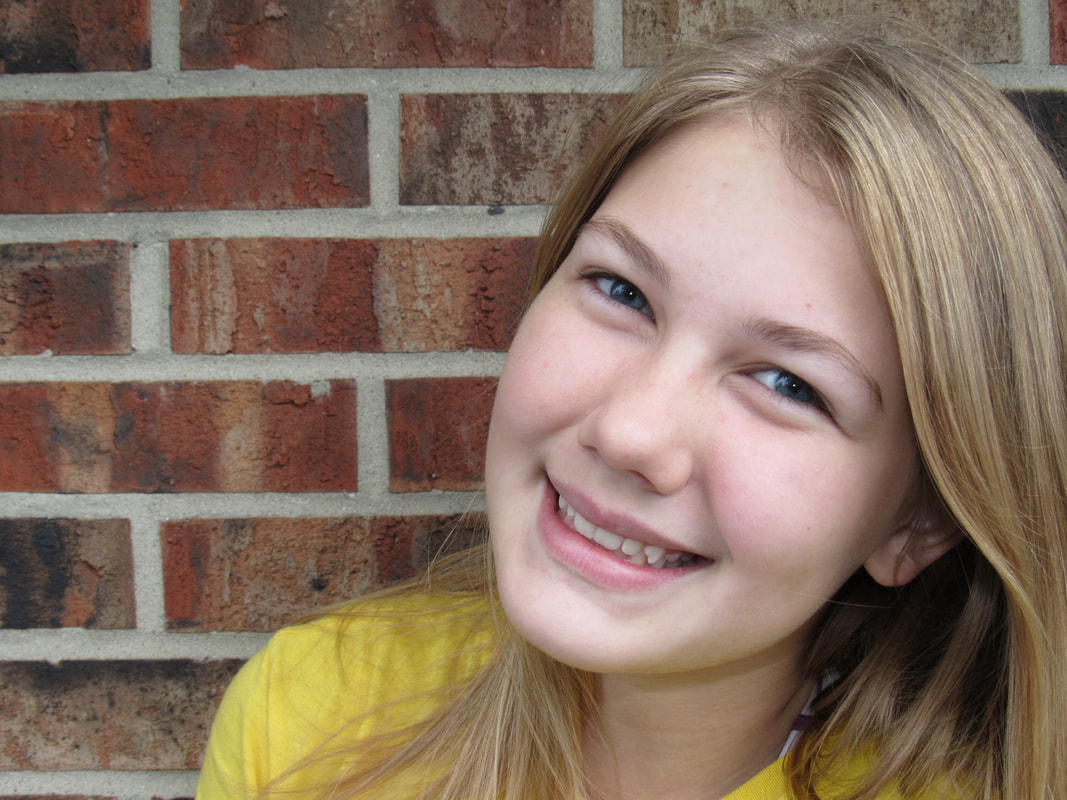
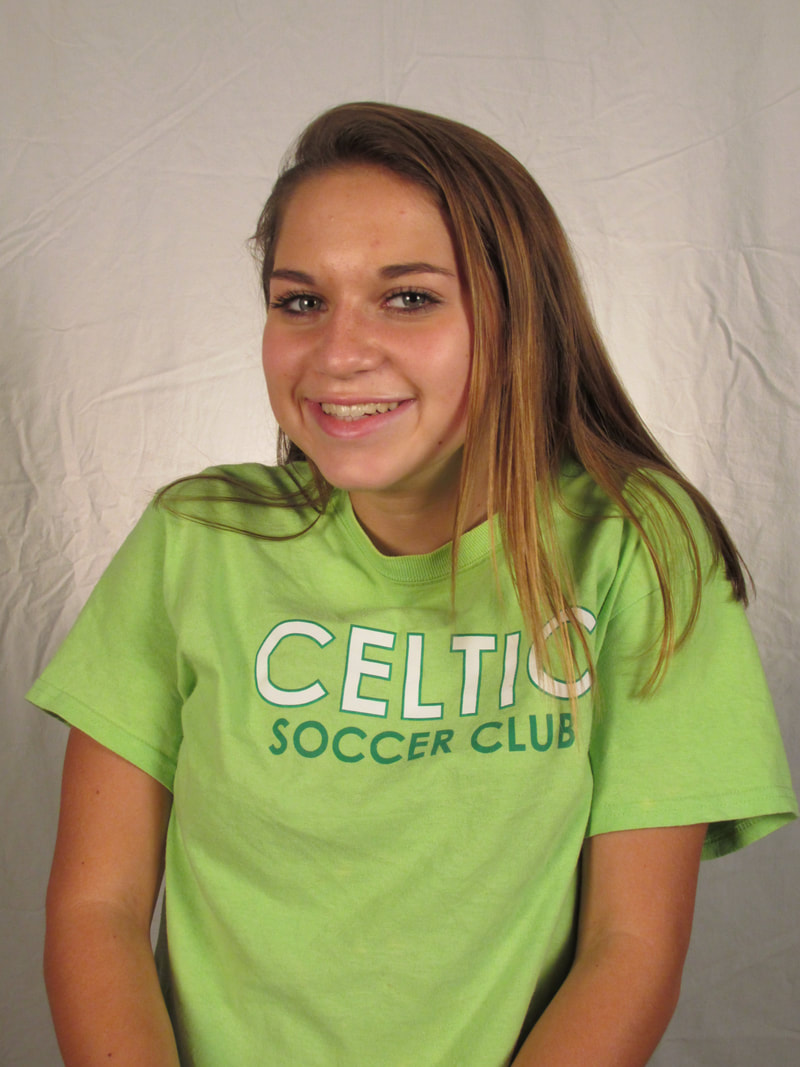
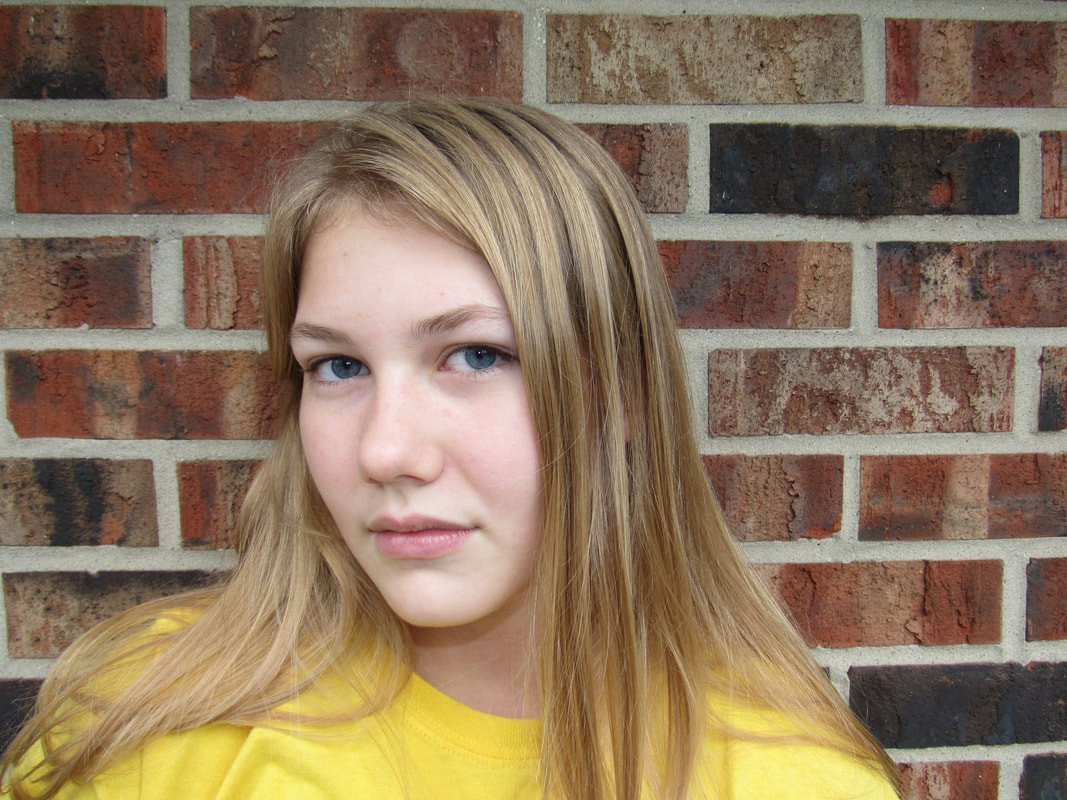
For this assignment we had to take portrait pictures. Although, one was taken with natural lighting and the other was taken in the studio. Then we had to take the two pictures and photoshop them together in a blog.
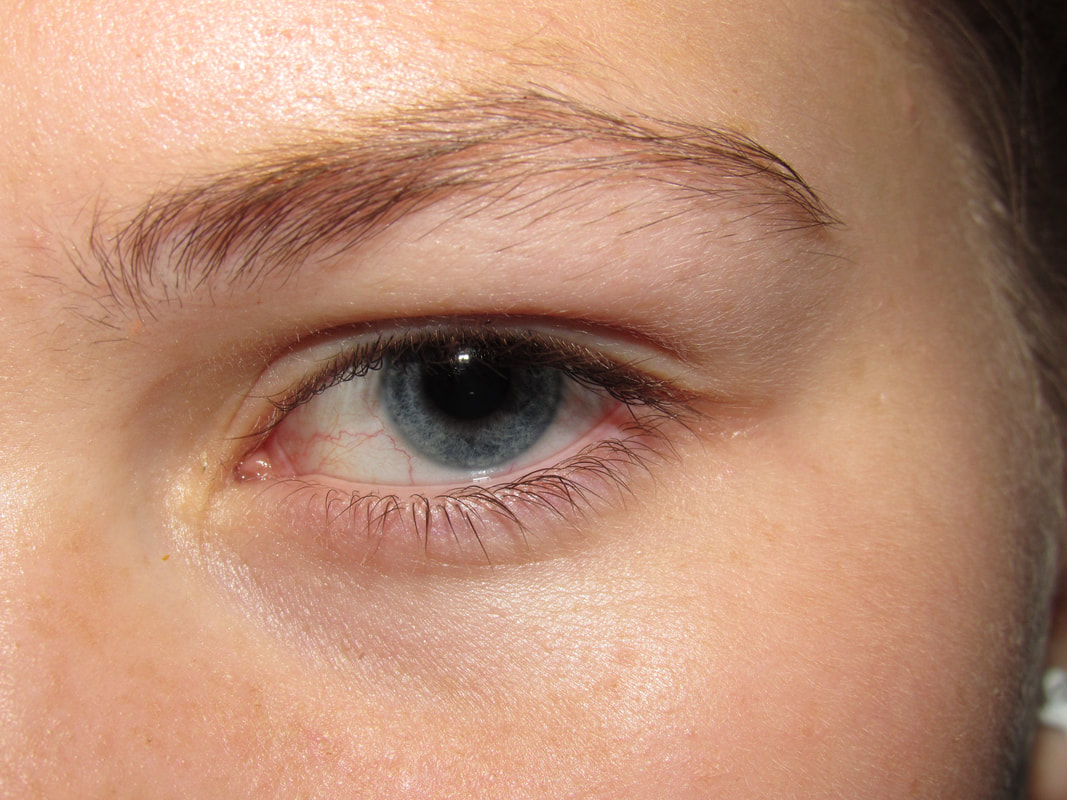
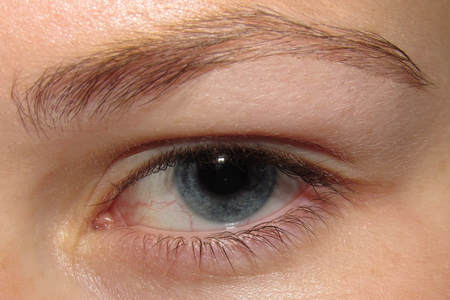
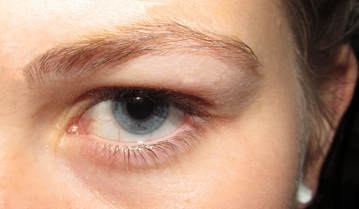
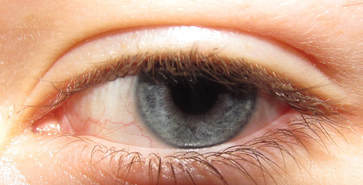
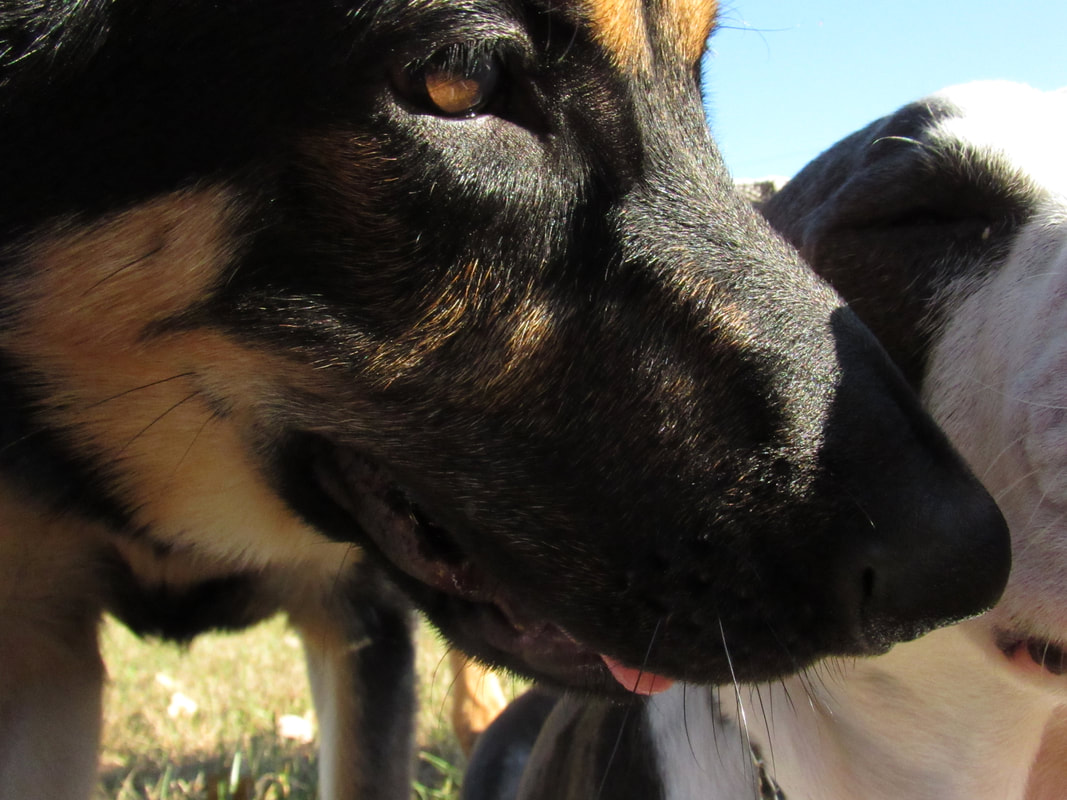
 For this assignment I chose to take a macro picture. Macro is a closeup photo that focuses on fine detail. For this photo I decided to capture a picture of my sister Kaylee's eye and all the small details and textures not captured in a normal photo.
For this assignment I had to take a photo and make it black and white. Then using new tools in photoshop we made a object in the photo stand out by bringing back its color, hence color pop.
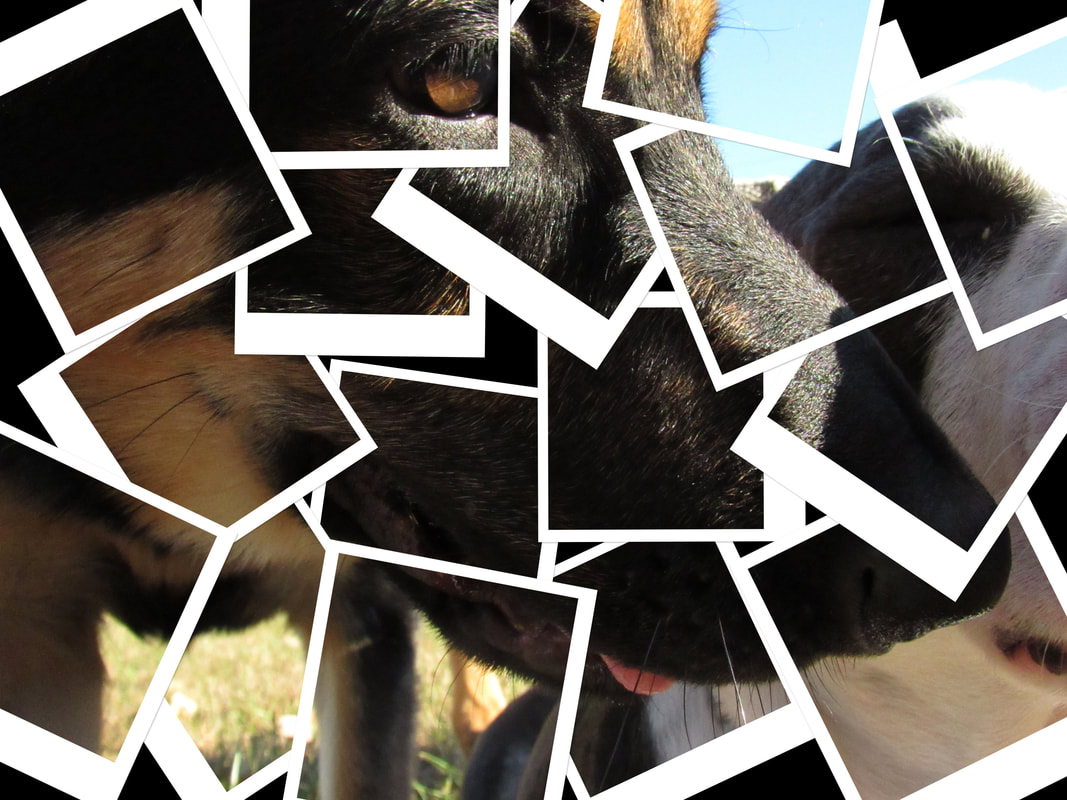
I learned how to desaturate a photo which is a very easy way to make a photo black and white. I also learned how to use the brush tool. It was a bit difficult outlining my object of choice because it is a fuzzy toy. Therefore, I tried my best to just get the toy and not the carpet underneath. It's also a bit difficult to use the brush tool because after every new stroke you can't go back two. P/S Tutorial #2For this tutorial I took an original photo that I would edit to look like a collage of polaroids.
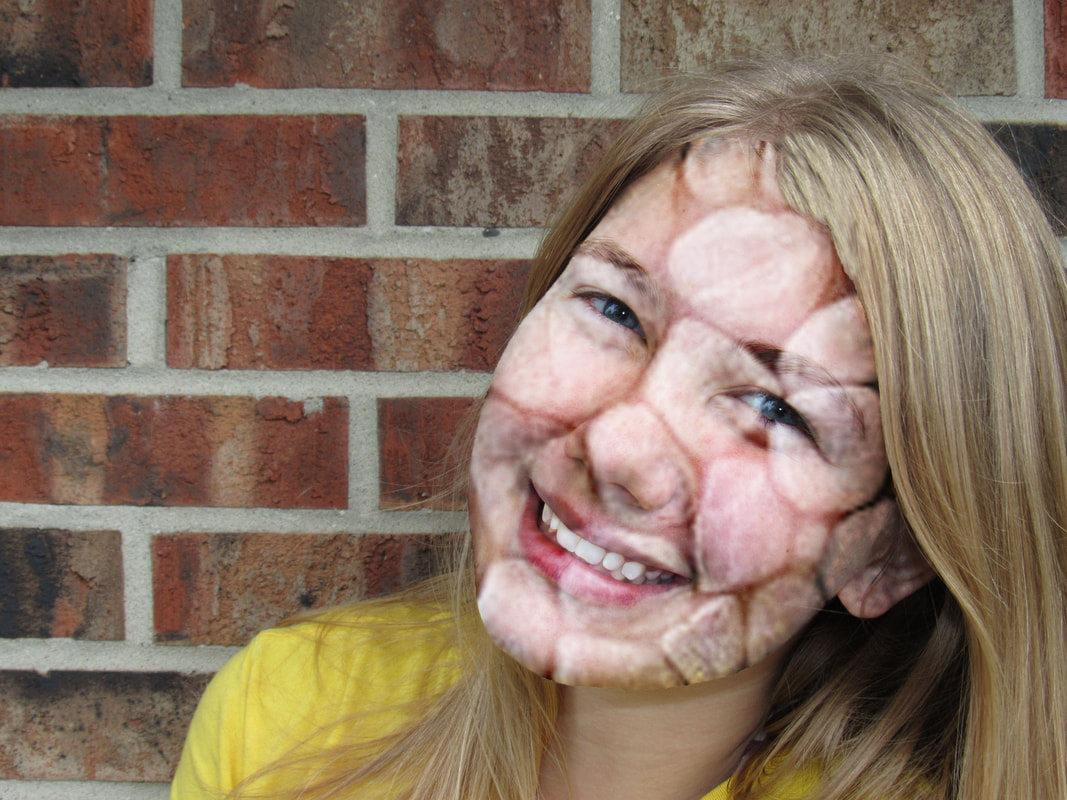
The tutorial was about adding new layers and grouping layers together to repeatedly make, and rotate polaroid pictures. Tools that are used are the rectangular selection tool and a lot of command shortcuts. Such as Command+T to rotate the polaroids, or Command+G to fill the selected area with color. These tools were very helpful and easy to use. The only trouble I had was on step 16 to copy the first group of steps. The key is to click and drag the original group to the new layer icon ;) After you get to that point its all repeated steps that are very easy to do. P/S Tutorial #3For this assignment I needed to choose a photo that had a subject I could add a texture to. So, I chose a portrait of my sister and added a pebble texture to her face.
I honestly thought the tutorial would be harder than it was. The key to accomplishing the task of adding a texture is to paying attention to what layer you are on, and where you're saving the extra steps. I learned how to use quite a few effects under the Filter tab such as Blur and Noise. I also learned how to navigate through Channels and Layers on Photoshop. The hardest part of this tutorial was coming up with a texture that works well with my photo. I should have chosen a smaller texture with lines like wood rather than big pebbles. All in all, you live and you learn Mr. O'Donnell.
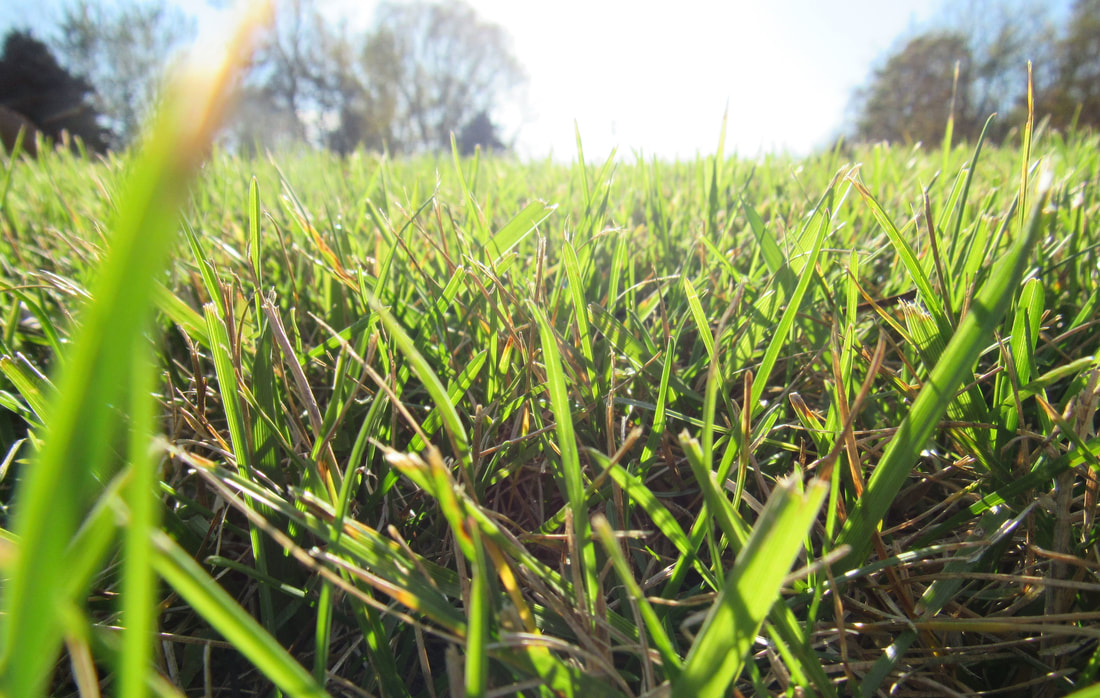
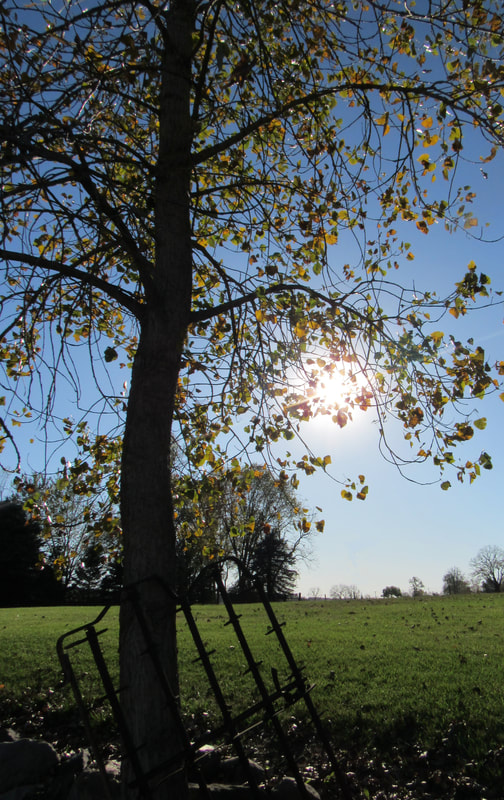
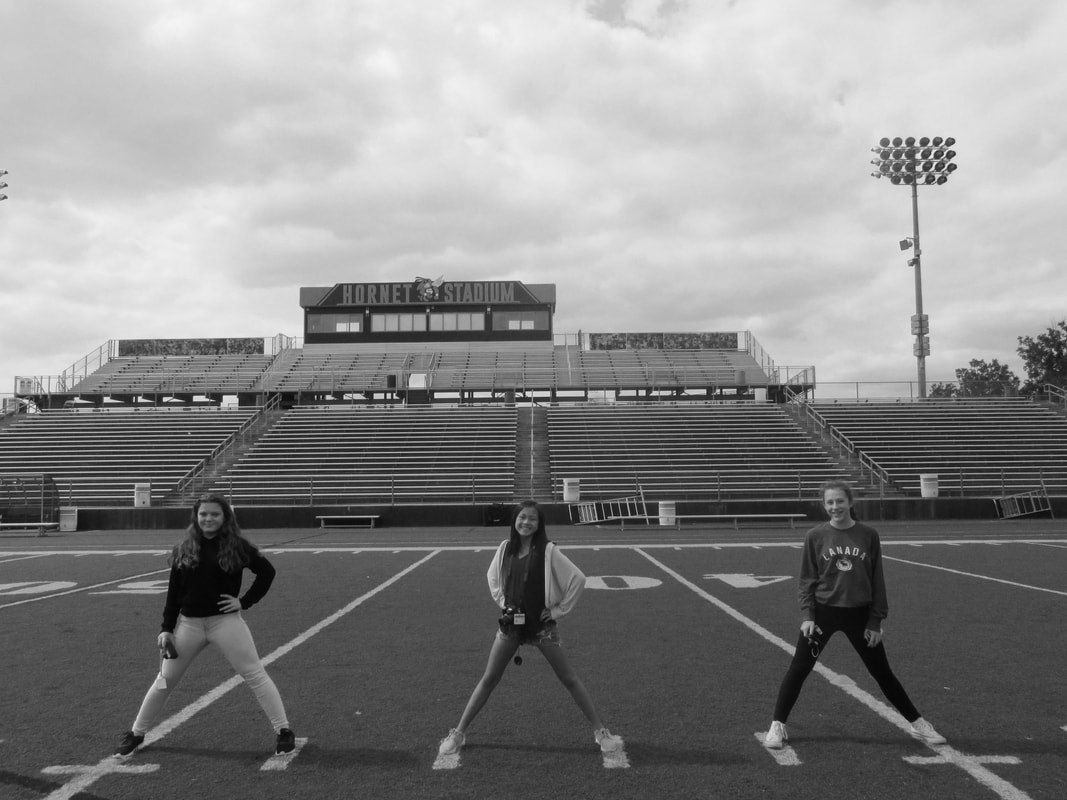
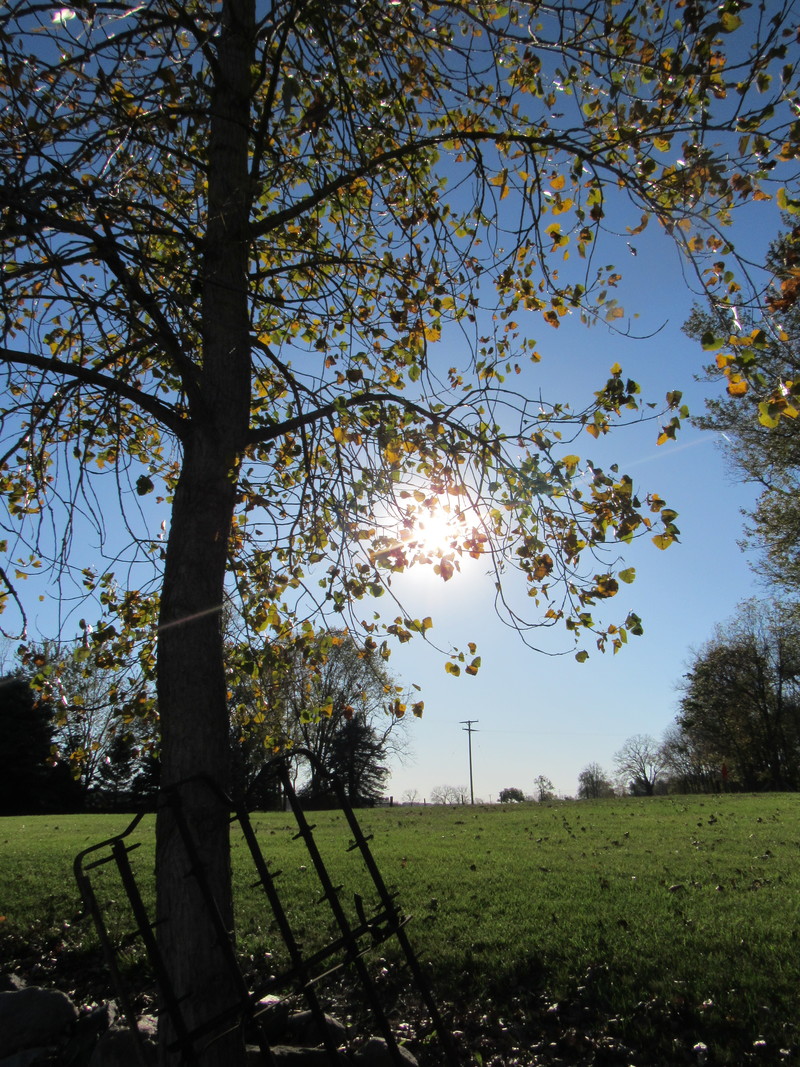
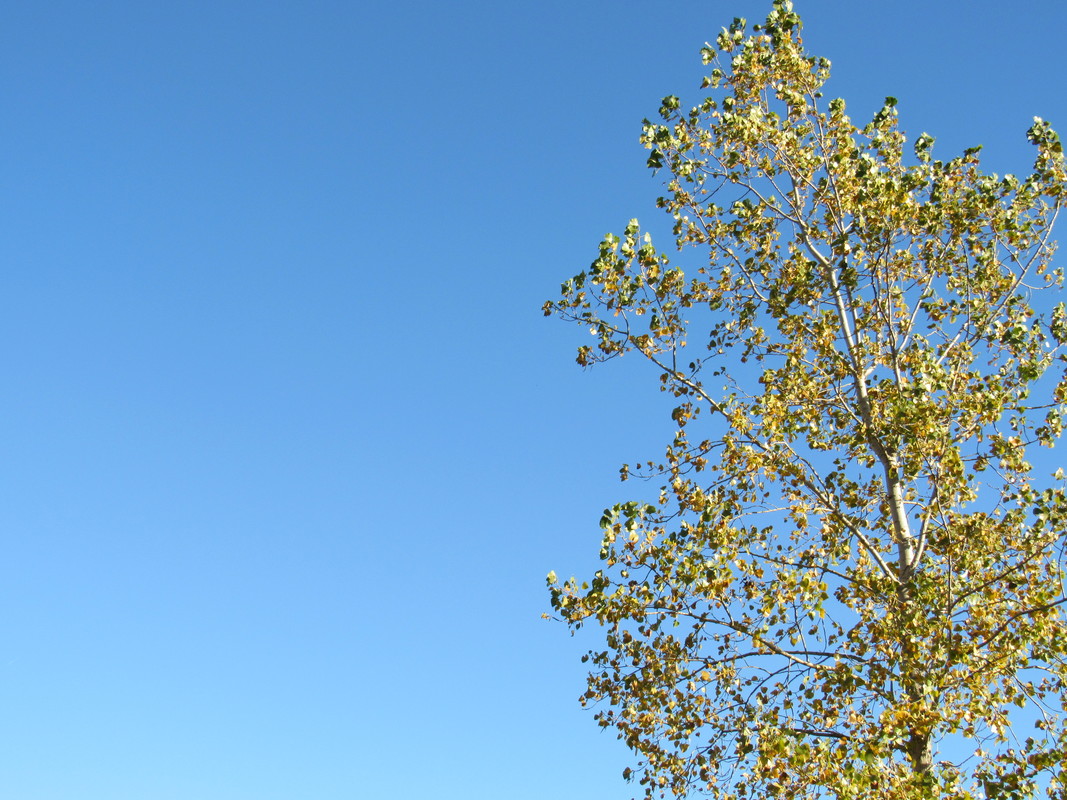
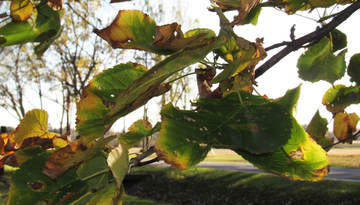
For this assignment I had to chose a topic and then take pictures that best convey the topic chosen. I decided to focus on nature. Therefore, I took my pictures outside in my very spacious yard.
 
In all, I enjoyed taking these pictures because it was nice out. Working with the sun can help your picture, or hurt it. You have to consider exposure and shadows.
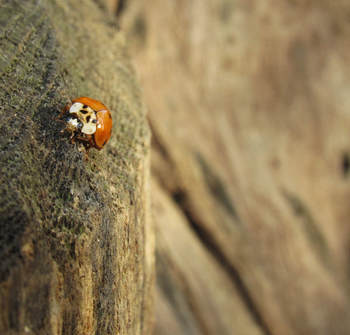
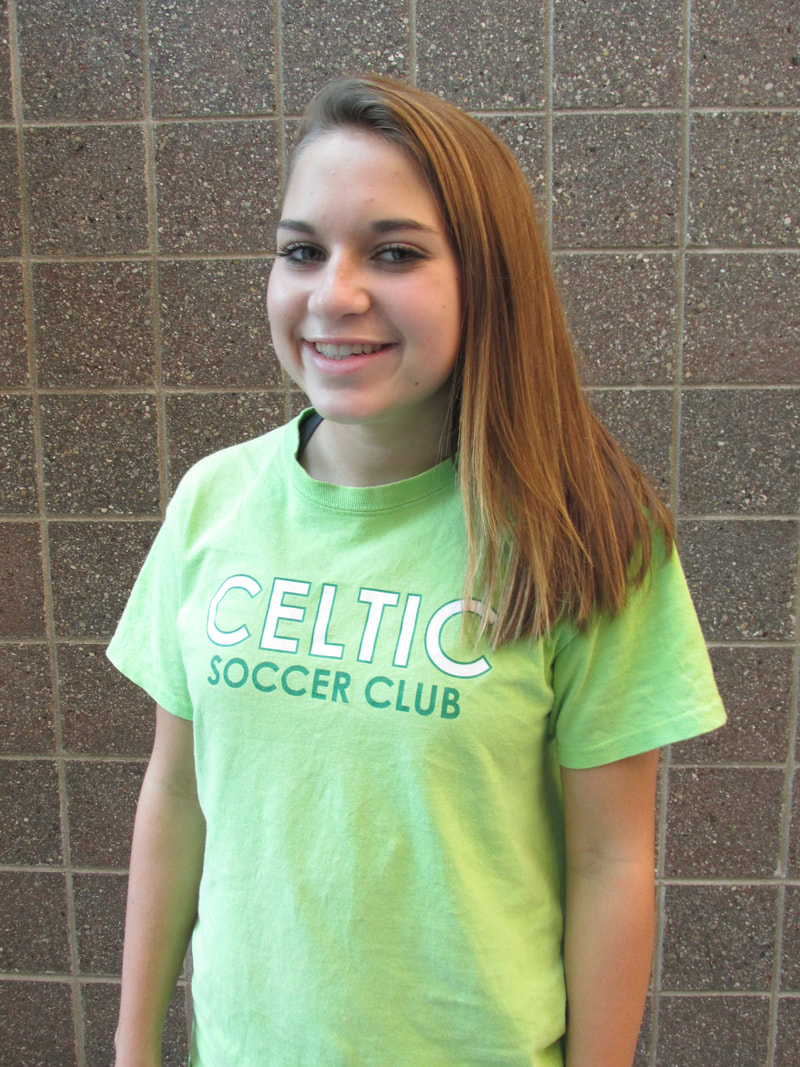
For Photo Assignment 3 I decided to focus on the aspect of Portrait mode. Focusing in on a specific object, in this case my sister Kaylee with a blurred back round. I did some editing in Photoshop with regards to the cloning tool to do some touchups. f5.0-Aperture 1/125-Shutter 250-ISO 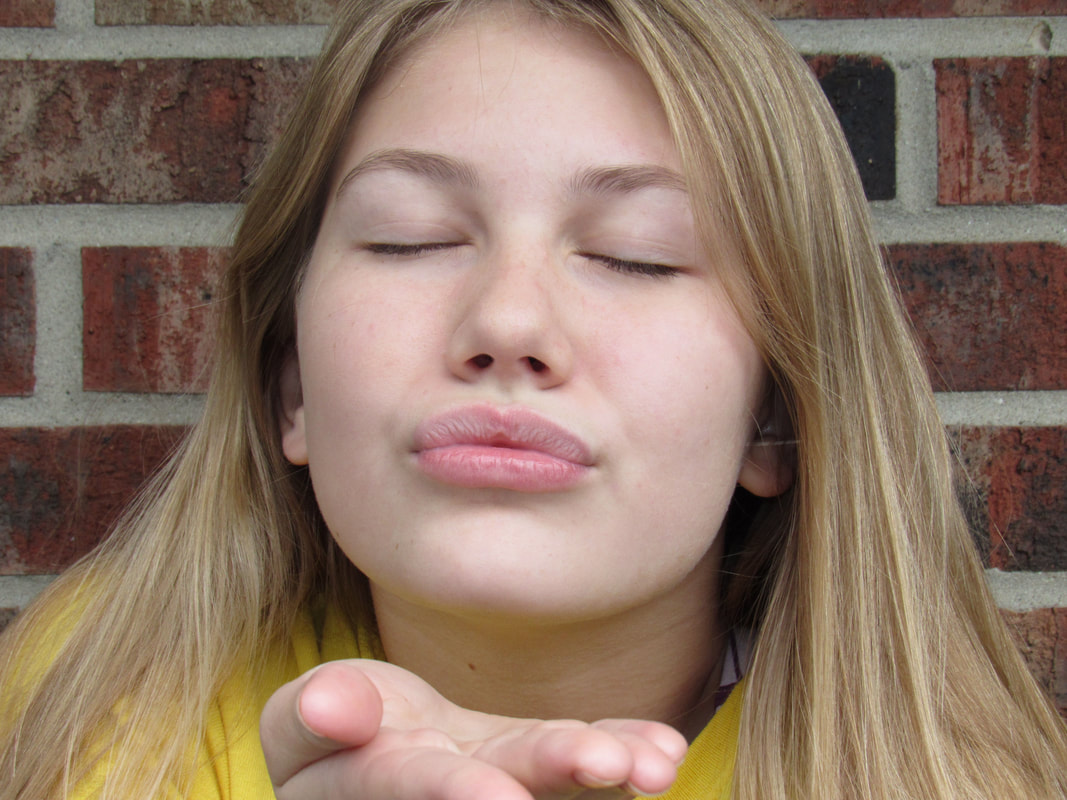
In all I learned that you really have to pay attention when using a back round with line because if they are crooked it can be annoying. I also learned when taking a portrait you should try and fill the screen with your subject. To try and capture personality or a story.
|